QtScrcpy Login
Prerequisites
Developers need to prepare the following hardware in advance:
- Main board: Rhino Pi-A1
- Power supply: DC 12V/24V 3A power adapter
- Input device: USB TYPE-A to TYPE-C cable
Installing QtScrcpy
Visit the QtScrcpy download page, download the appropriate package for your platform, and install:
Starting the Board
The board comes with Android 14 pre-installed. After powering it with a DC 12V/24V 3A power adapter, the board will boot the system automatically.
- Boot process: The power indicator stays solid blue.
- Use a USB TYPE-A to TYPE-C cable, connect the TYPE-A end to a USB port of the Windows computer, and the TYPE-C end to the Type-C port of the board.
- System boot complete: The power indicator stays solid blue, indicating that boot is complete.
Connecting the Device
Connect the board and the computer with a Type-C cable.
Accessing the System via QtScrcpy
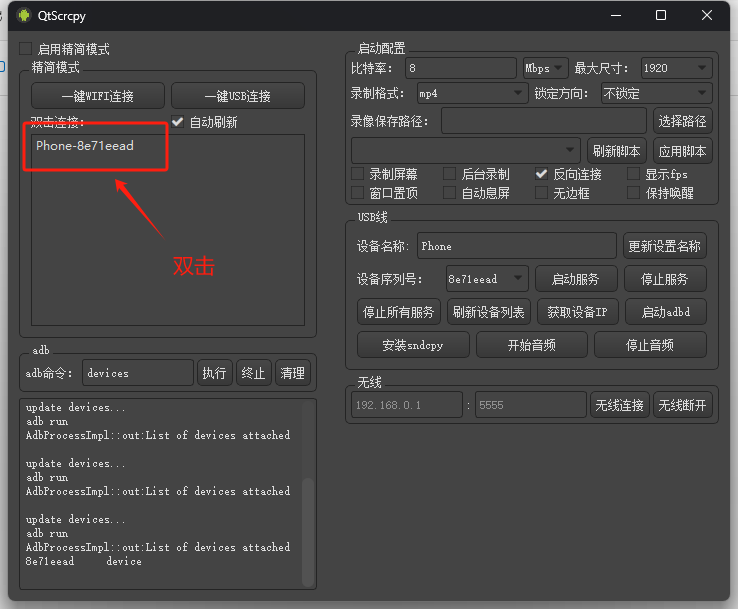
Open the QtScrcpy application and it will detect the board device. Double-click to access the device screen.
Entering the AidLux Integrated System
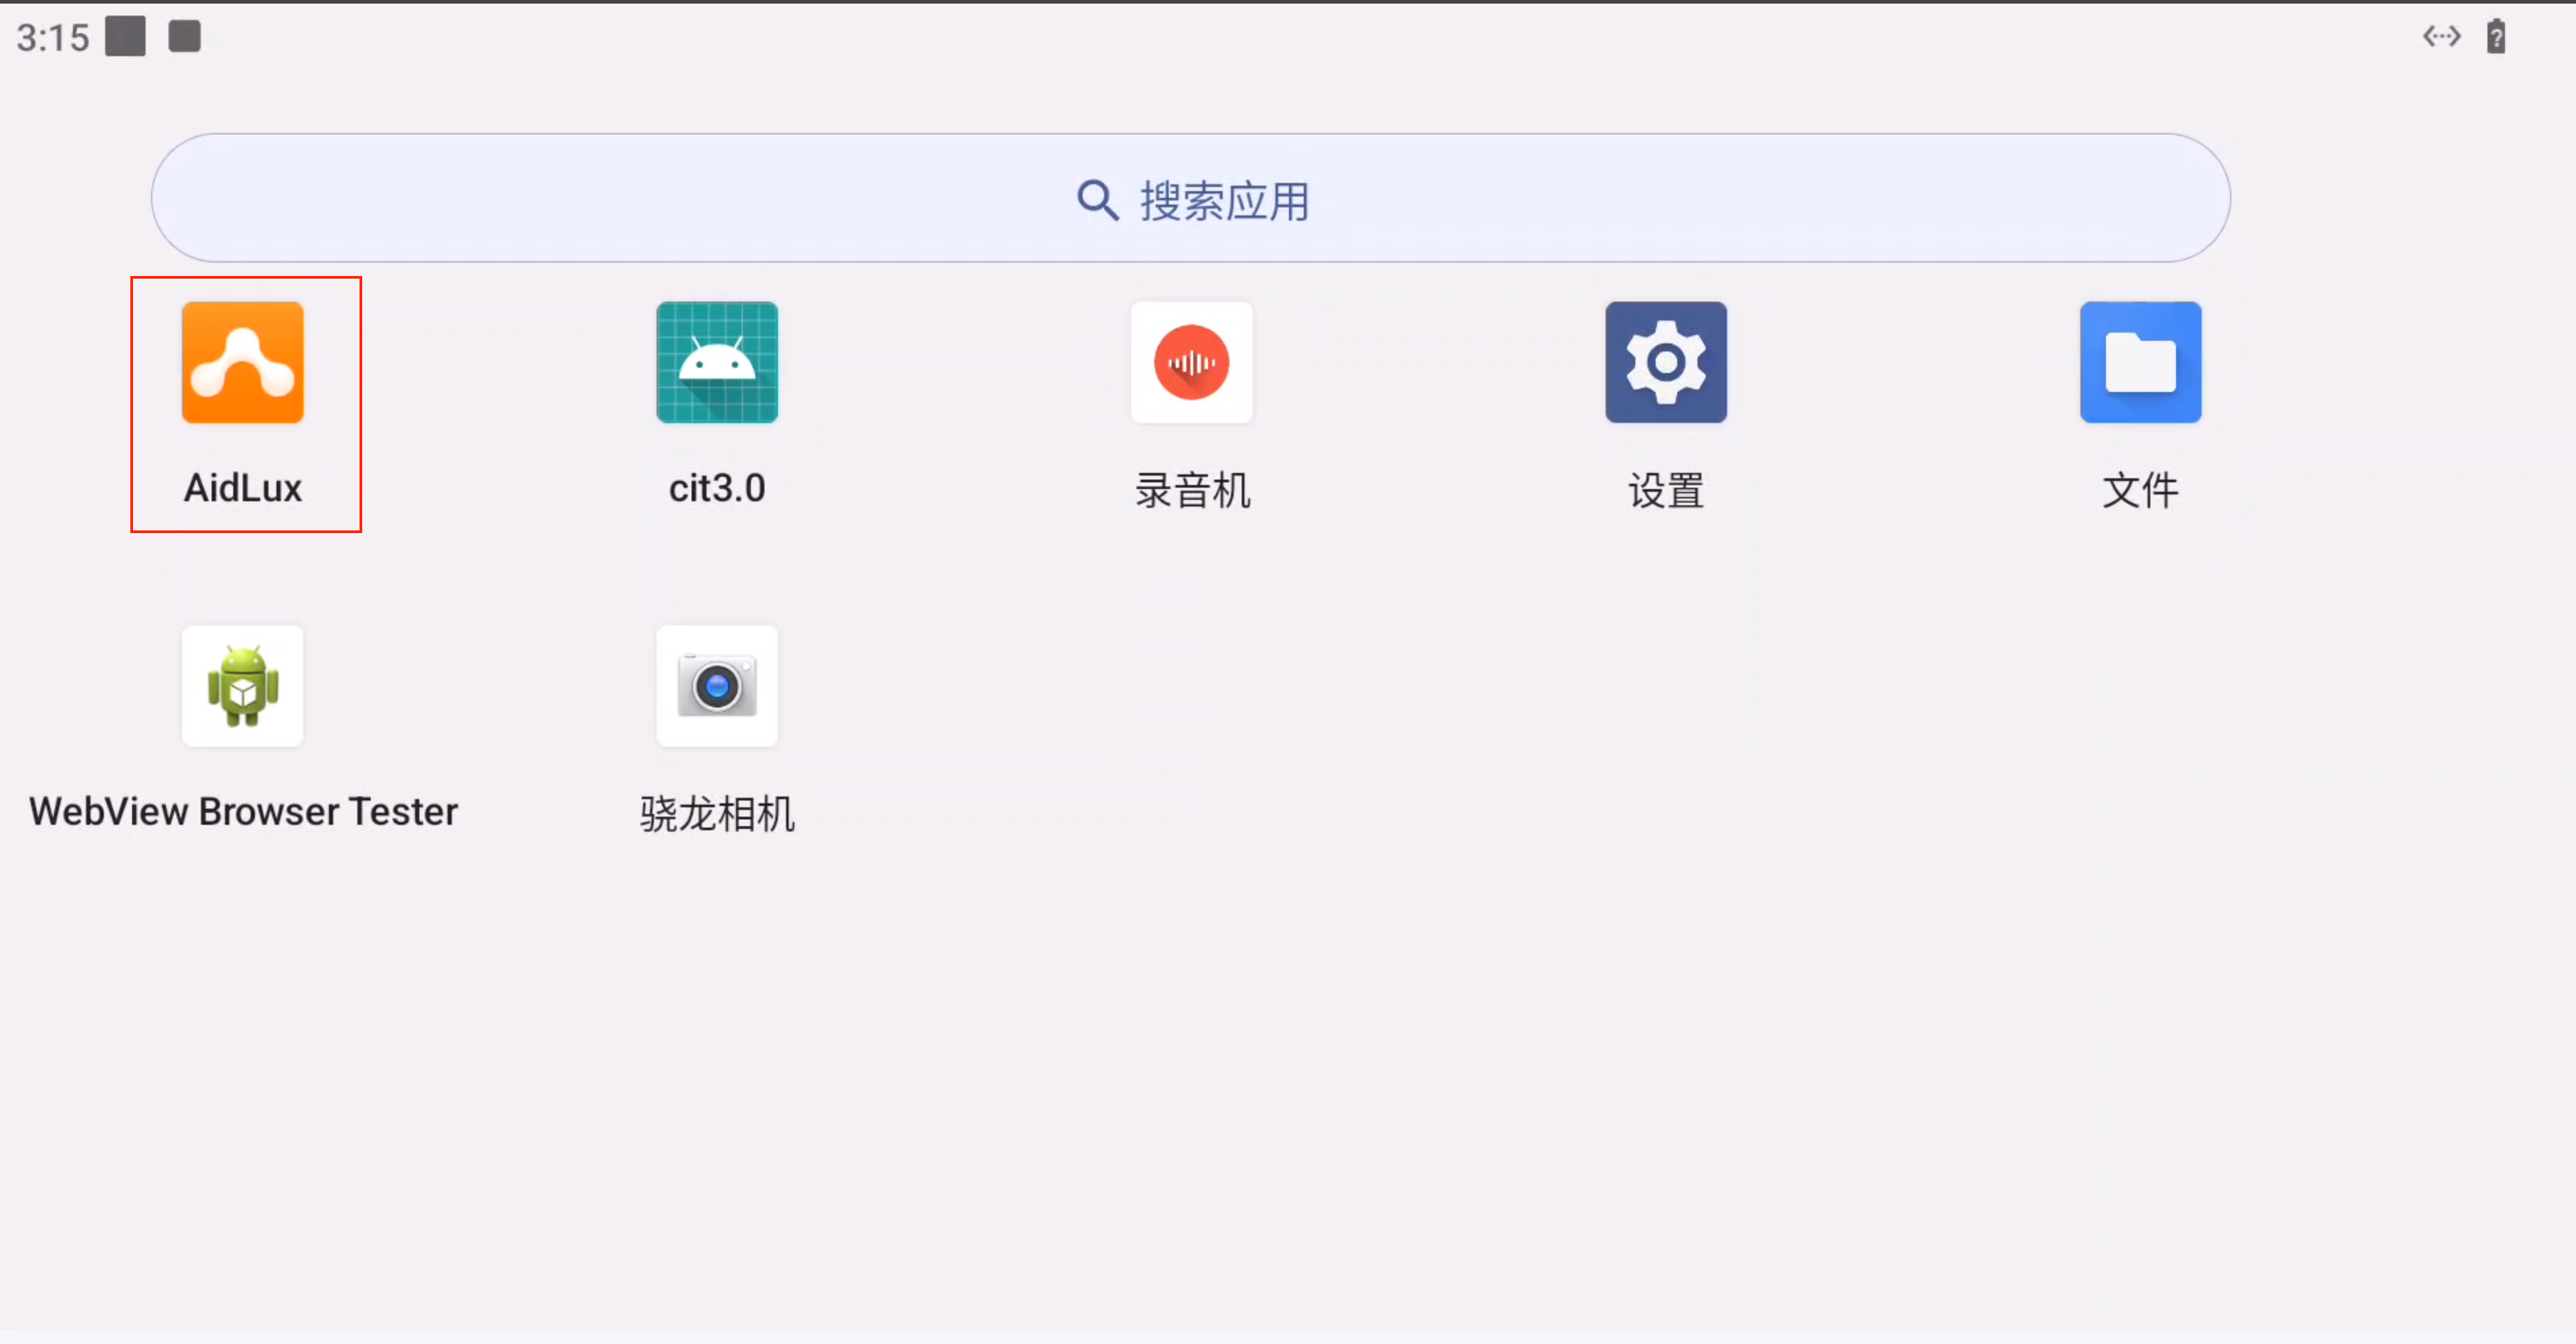
After the device screen is displayed, swipe up with the mouse to bring up the application menu. Click the AidLux application icon to enter the Ubuntu 22.04 system interface.
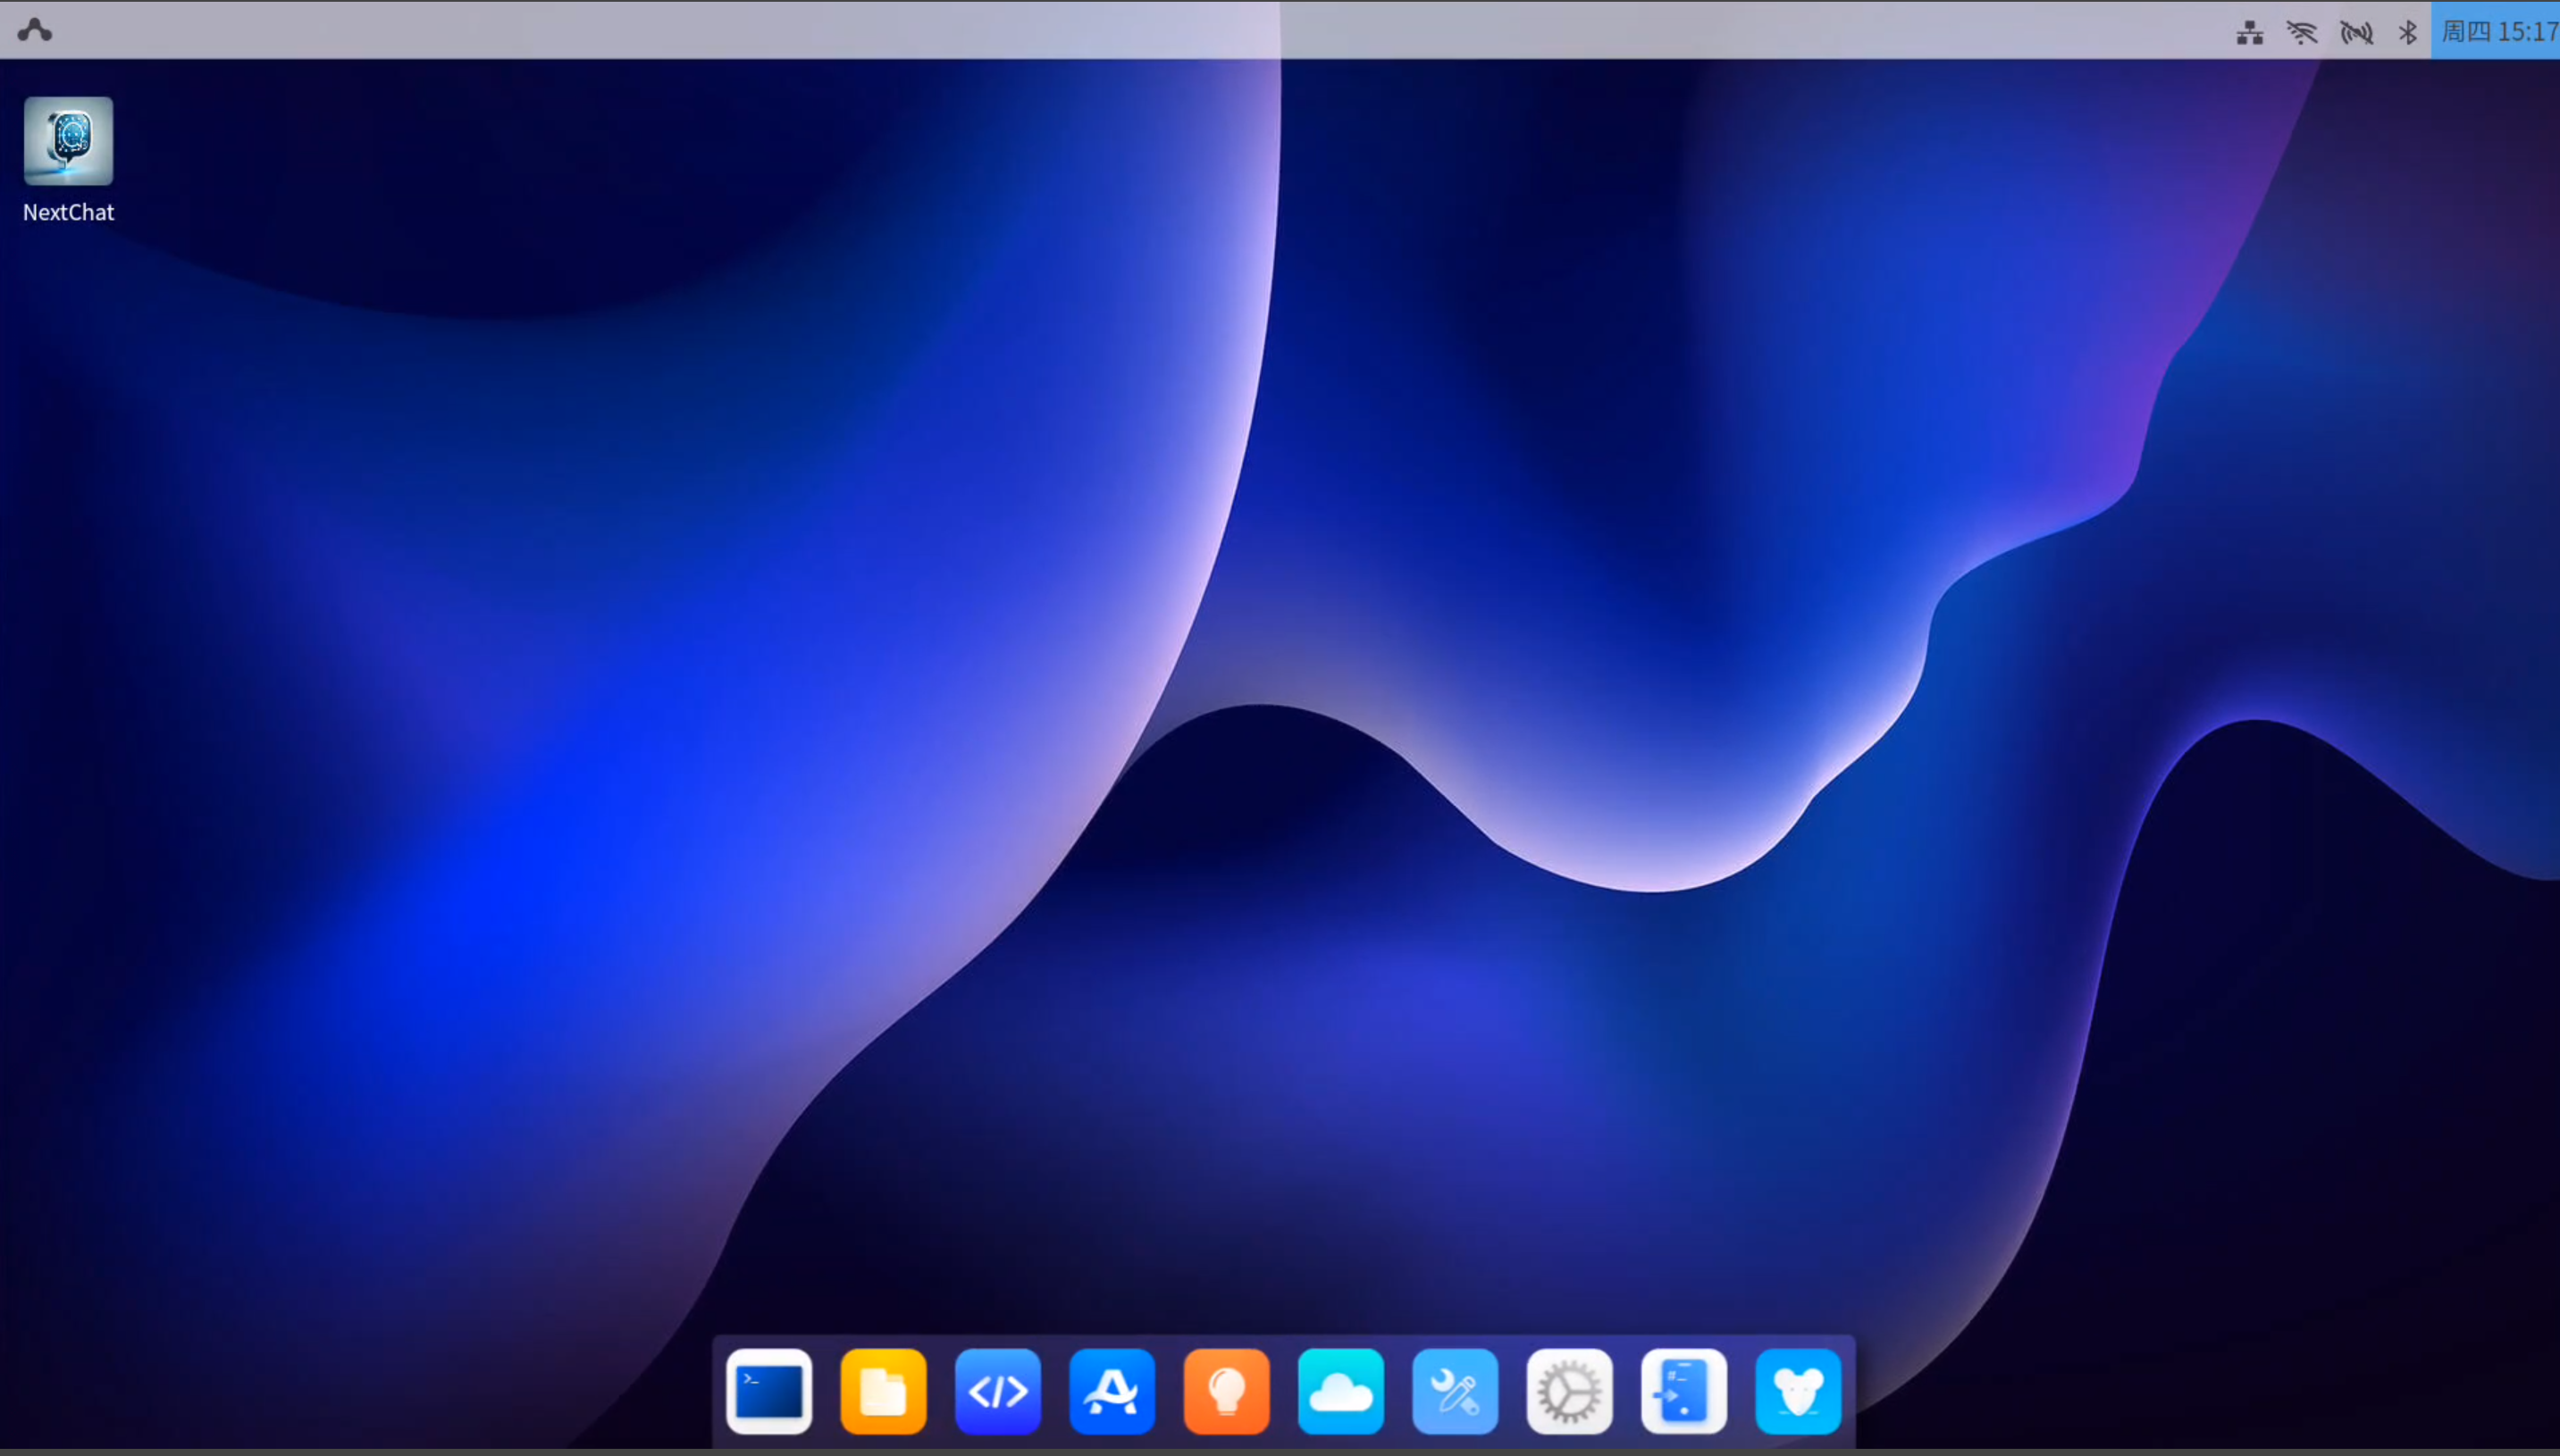
The Ubuntu 22.04 system interface of AidLux is as follows: