Full Package Installation
Note
Flashing will format the system. Back up your data in advance.
Flashing Tool Installation
Before using the Rhino Pi A1 Mini, you need to pre-install the required software on a local Windows PC:
- USB driver:
USB_Driver_qud.win.1.1_installer_10061.1.zip - System flashing tool:
QPST_2.7.496.zip
Software download link: Software tool package download link
Install the USB Driver
- Extract
USB_Driver_qud.win.1.1_installer_10061.1.zip - After extraction, double-click
setup.exeto open the "Qualcomm USB Drivers" installation window - Follow the wizard and click
Nextuntil the driver installation is complete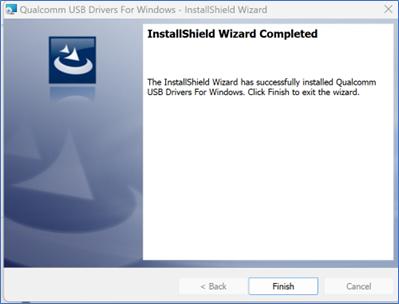
Install the System Flashing Tool
- Extract
QPST_2.7.496.zipto the current folder - Enter the extracted
QPST_2.7.496directory and double-clickQPST.2.7.496.1.exeto install - Follow the prompts and click
nextto complete the installation - Default installation path:
C:\Program Files (x86)\Qualcomm\QPST\bin
Ubuntu System Installation
Switch to Flashing Mode
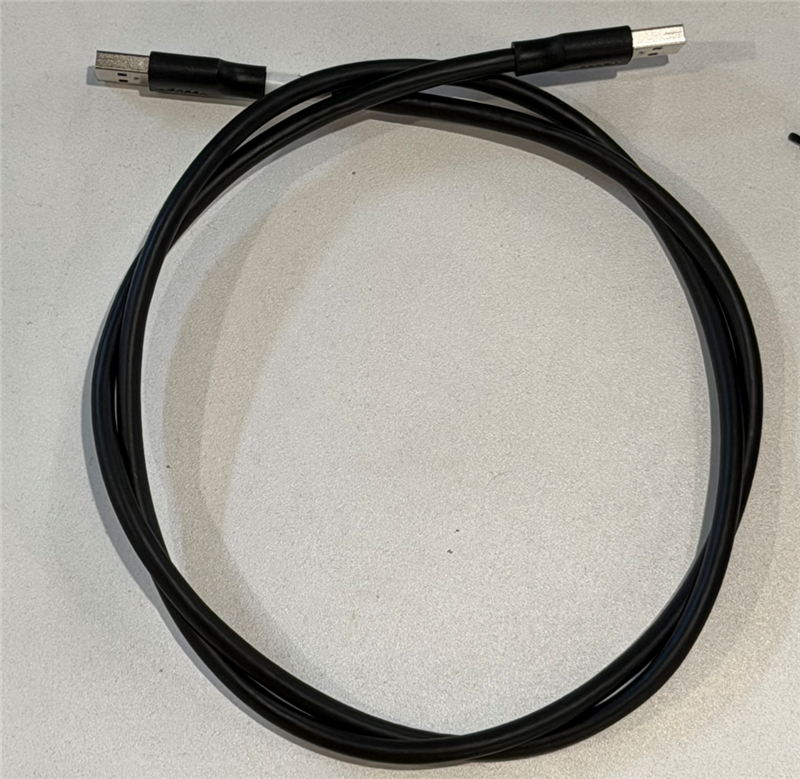
Use a USB-A to USB-A cable to connect a USB port on the PC to the USB 3.0 port on the board
Press and hold the
SW1flashing mode button, then power on the device. Keep holding for about 3 seconds and release to enter flashing mode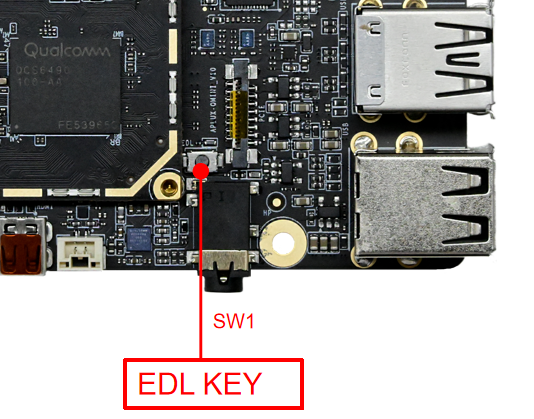
Configure the QFIL Configuration Item
Open the Qualcomm QFIL flashing tool
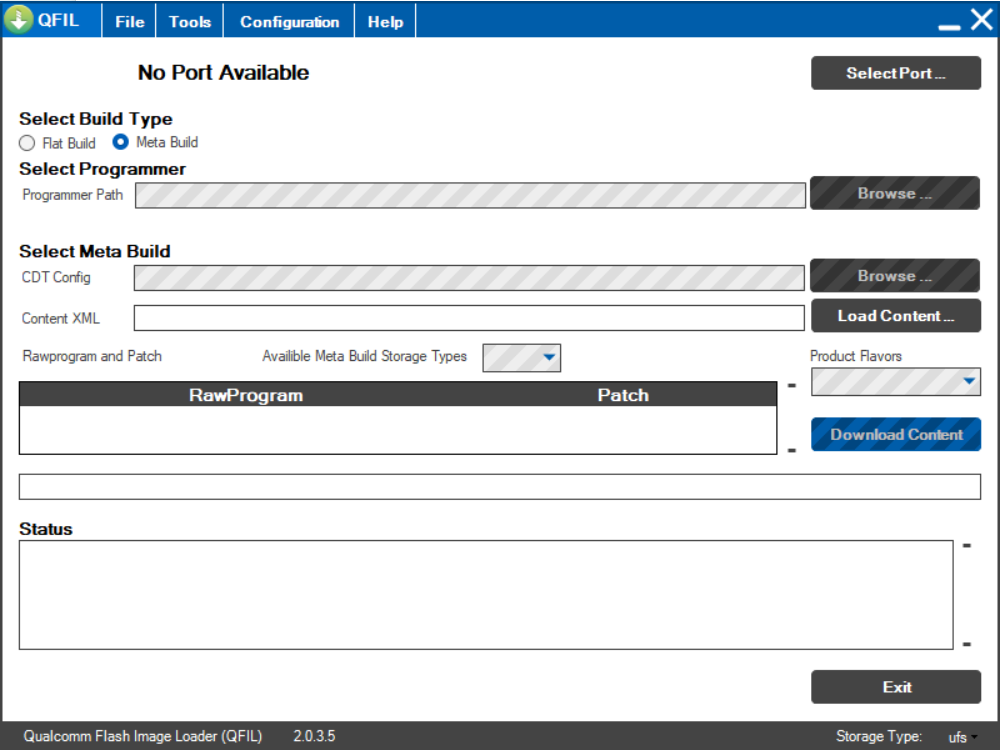
Click
Configuration→FireHose Configurationto open the Download Configuration window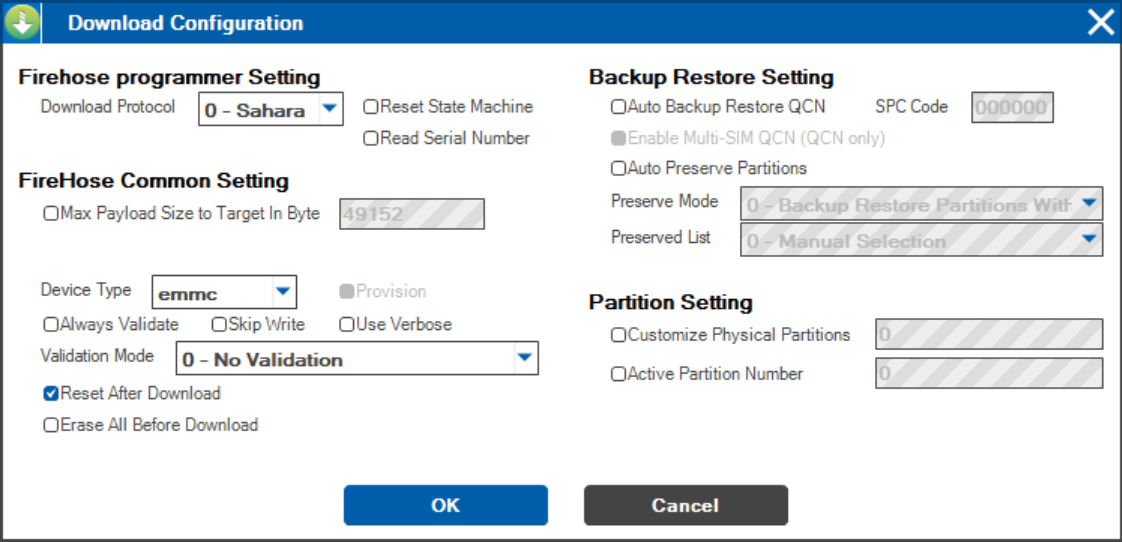
In the Download Configuration window, set:
- Download Protocol:
0-Sahara - Device Type:
emmc - Check
Reset After Download - Keep other options as default
- Download Protocol:
Click OK to save
Warning
In the Download Configuration settings, Device Type must be set to emmc; selecting any other type will directly cause flashing to fail!
Select the Flashing Port
- Click
Select Port - Select the
9008port in the pop-up window and clickOK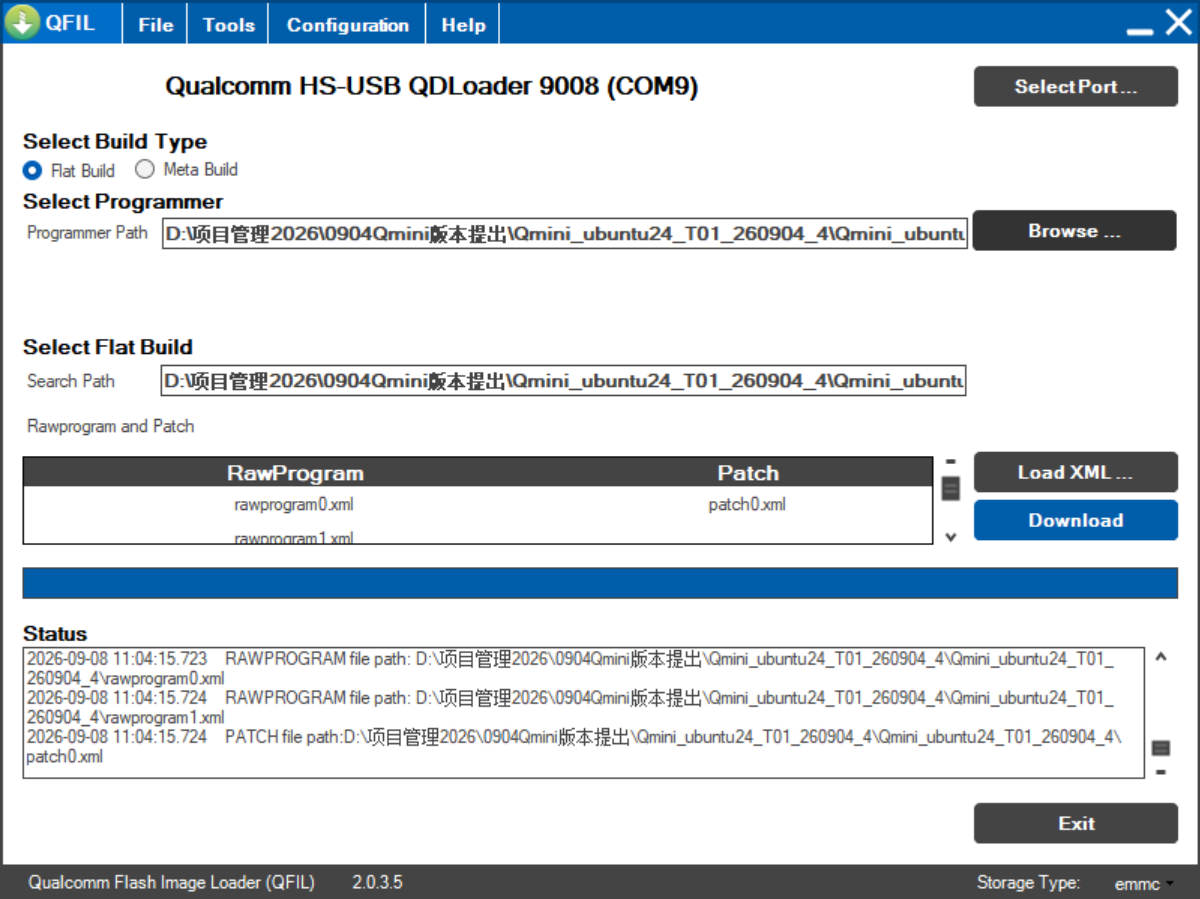
- If the 9008 port does not appear, power off and reboot, then hold SW1 again to enter flashing mode
Select the Flashing Files
- Extract the ROM files, then find
Select Build Typeand selectFlat Build - Find
Select Programmerand clickBrowse...afterProgrammer Path - Navigate to the extracted ROM directory and select
prog_firehose_ddr.elffrom the firmware package, then click Open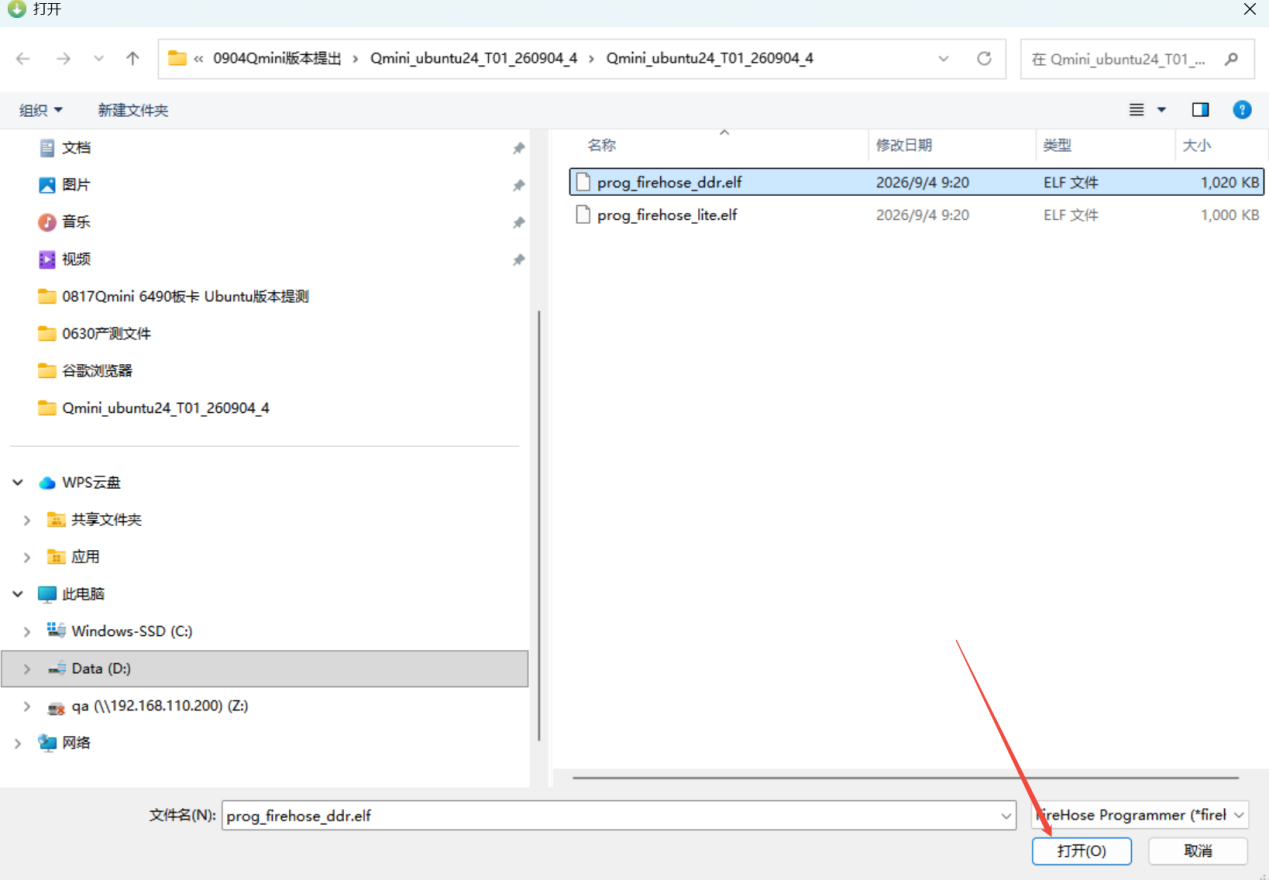
Select the Flashing XML Files
- Find
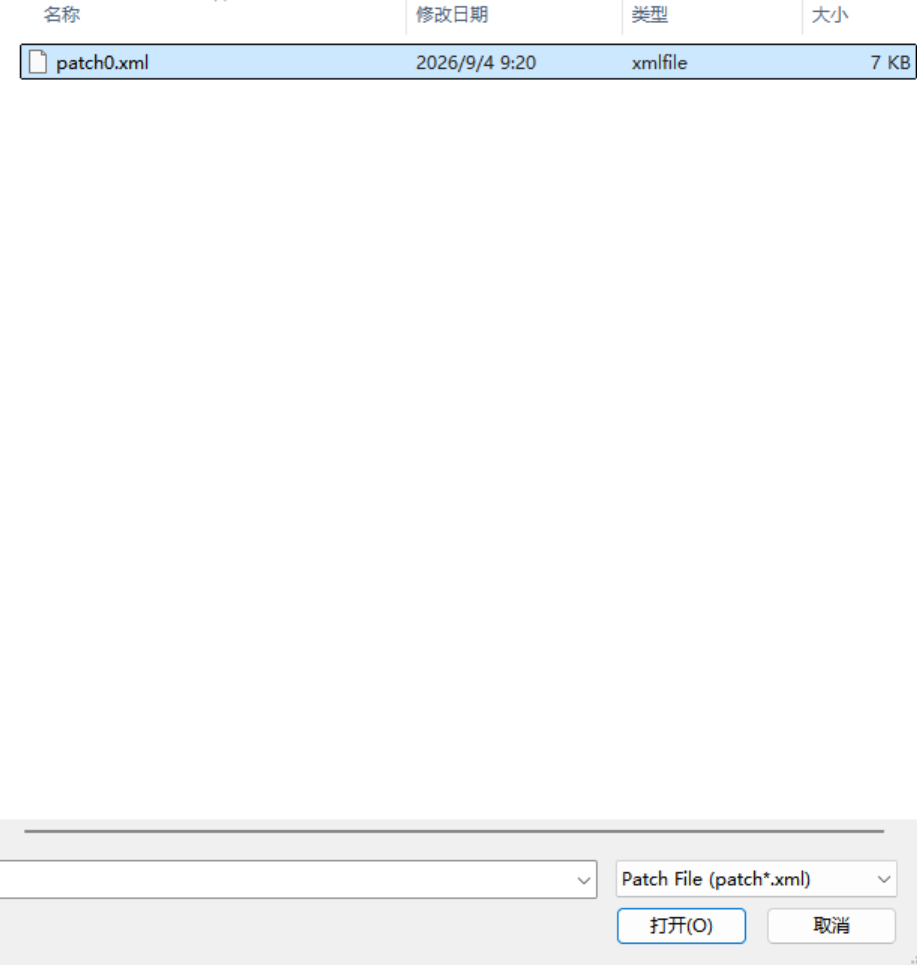
Select Flat Buildand clickLoad XML...below it - In the pop-up dialog, hold
CTRLand select all files with the mouse, then click Open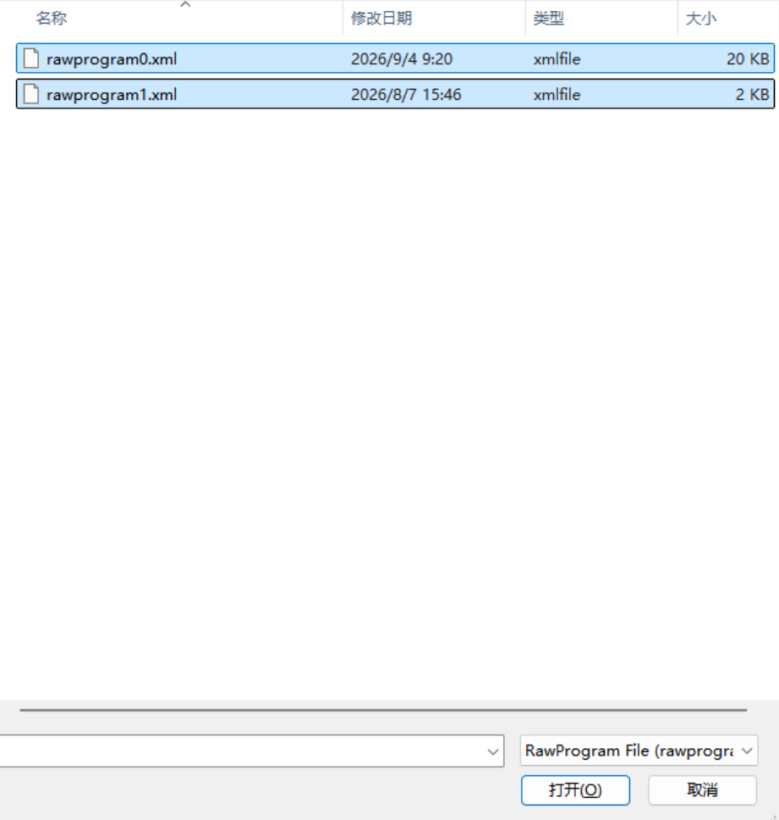
- Another dialog pops up automatically; select all files again and click Open
Start Flashing
- After all options are set, click
Downloadto start flashing - Wait until
Download Succeedappears in the log, which means flashing is complete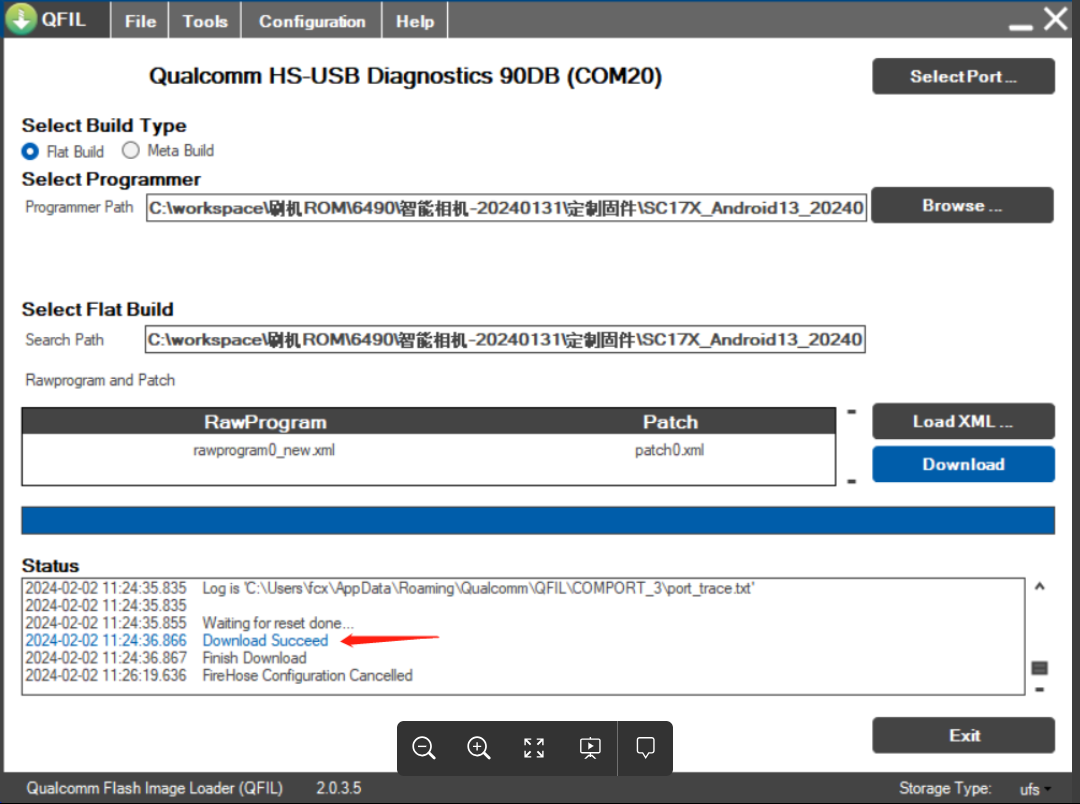
- If flashing fails, contact APLUX after-sales support
First Boot After Flashing
- After flashing succeeds, the system starts automatically
- Wait for the system to boot (about 1-2 minutes)
Warning
Do not unplug the USB cable or cut power during flashing; interruption will damage the firmware partitions and prevent the device from booting.
If flashing fails unexpectedly, disconnect the cable, power on again to enter EDL mode, and flash again to recover.