Browser Login
Prerequisites
- Main board: Rhino Pi-A1
- Power supply: DC 12V/24V 3A power adapter
- Input device: USB TYPE-A to TYPE-C cable
- Communication device: An ordinary Ethernet cable
Starting the Board
The board comes with Android 14 pre-installed. After powering it with a DC 12V/24V 3A power adapter, the board will boot the system automatically.
- Boot process: The power indicator stays solid red.
- Use a USB TYPE-A to TYPE-C cable, connect the TYPE-A end to a USB port of the Windows computer, and the TYPE-C end to the Type-C port of the board.
- System boot complete: The RGB light stays solid red and the fan starts spinning, indicating that boot is complete.
Obtaining the IP Address via ADB
Installing ADB
Visit ADB Download and download the ADB software for the corresponding platform.
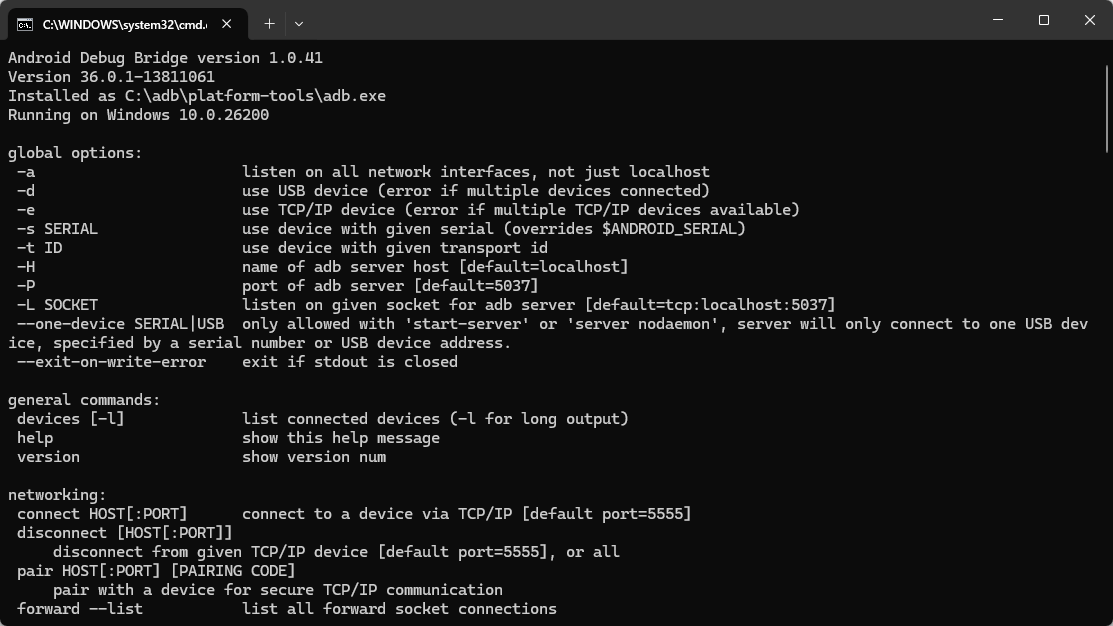
Open a Terminal in the ADB folder, type adb, and if ADB command help is displayed, the environment is ready.
Note
For more ADB usage, please refer to ADB Basic Usage.
Obtaining the IP Address
# Enter the device
adb shell

# Obtain the IP address
ifconfig eth0
You can see the following output:
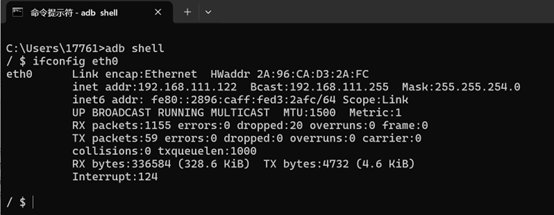
The inet addr parameter indicates the IP address of the device.
Note
For more ways to obtain the IP address, please refer to IP Address Acquisition.
Logging in to the Web Page
After obtaining the IP address of the device, you can log in to the Web interface of the integrated system as follows.
Make sure the PC and the board are on the same LAN.
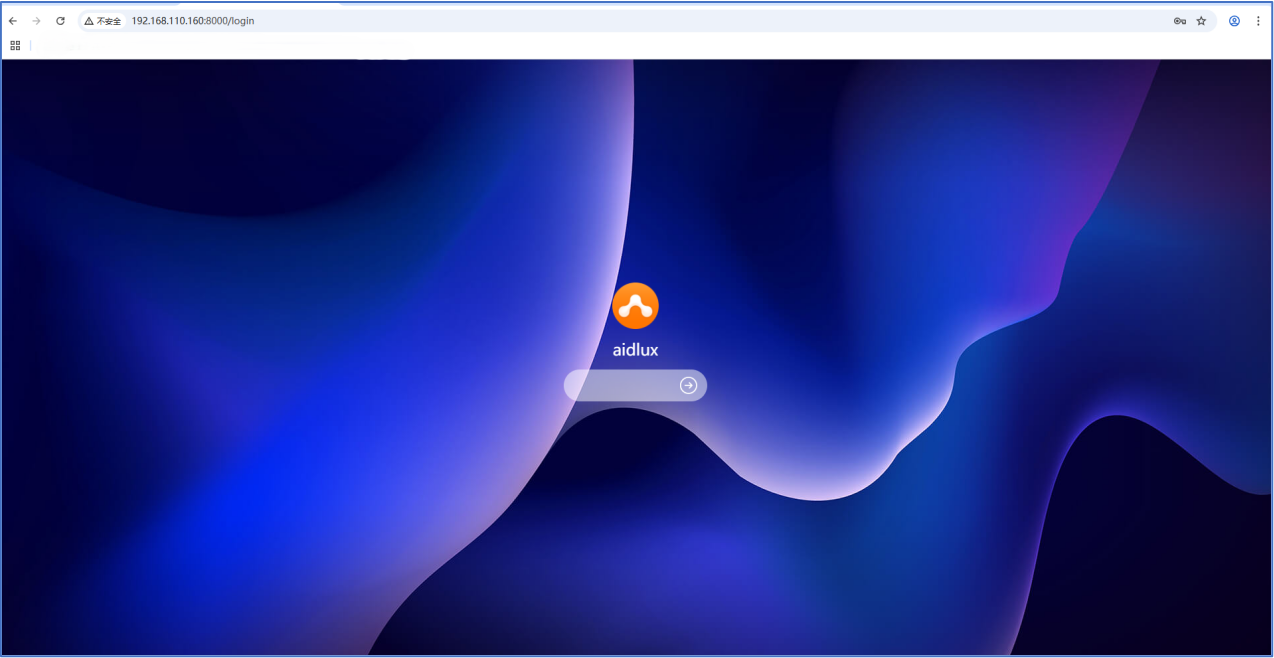
Enter the URL in the browser:
http://ip:8000/login. Replaceipin the URL with the actual IP address of the device. Username/password: aidlux/aidlux
Using the System
After the system boots successfully, developers can use Ubuntu 22.04 on the Rhino Pi-A1. Please refer to System Usage.
Note
If you need to reinstall the system or perform an OTA upgrade, please refer to: System Flashing.