Direct HDMI Display Configuration
When users need to configure IP addresses via an HDMI-connected display, follow the steps below:
Connect the device to an HDMI display
Connect a Type-C hub to the device's Type-C port, then connect a mouse and keyboard
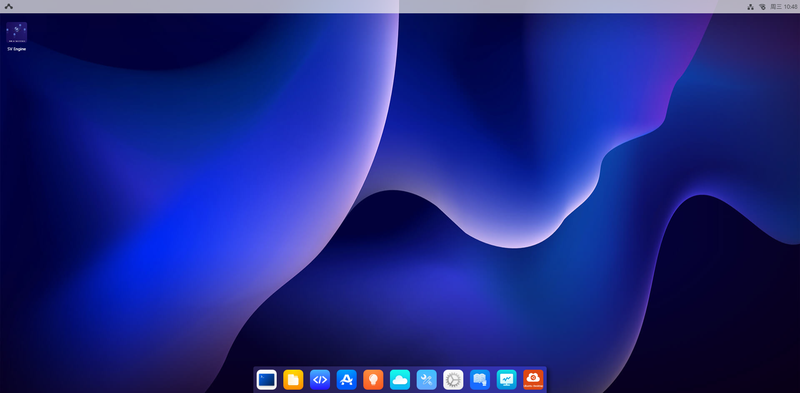
After powering on and connecting to the display, the default view is the Aid-Desktop interface.
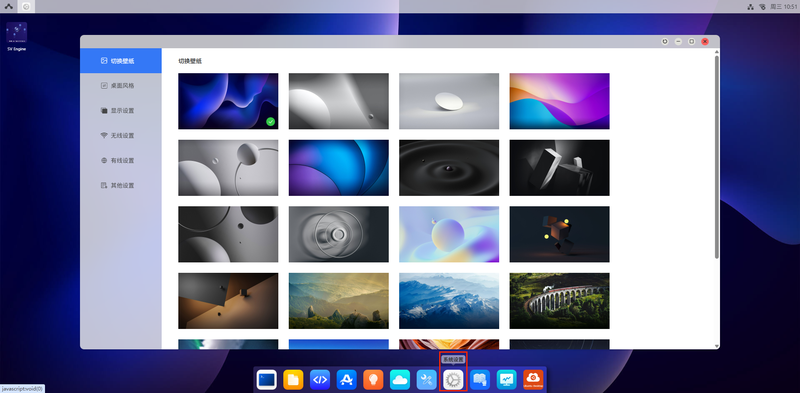
- After logging in, click System Configuration to configure IP settings.
Configure Wireless WIFI
💡Tip
Qualcomm does not support WiFi WPA3 encryption by default. Please confirm the WIFI encryption method.
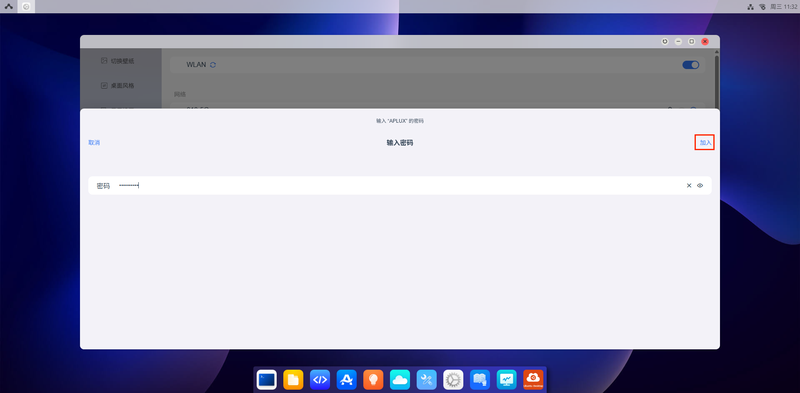
- Click Wireless Settings, then toggle the WLAN switch at the top right.
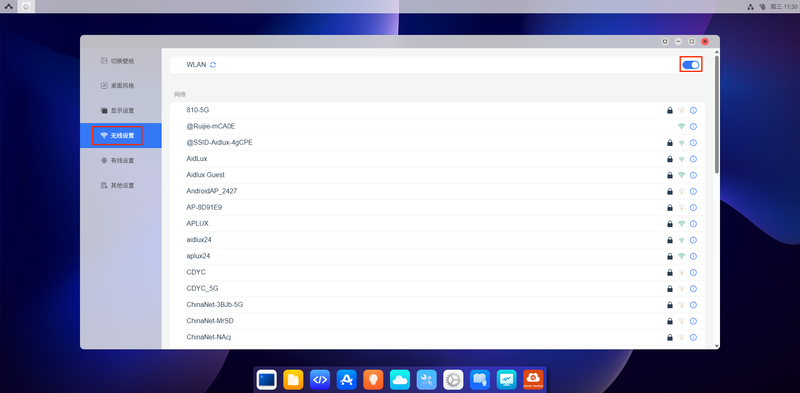
- Based on your network environment, click the corresponding SSID, enter the password, and click Join.
Configure Wired Network IP
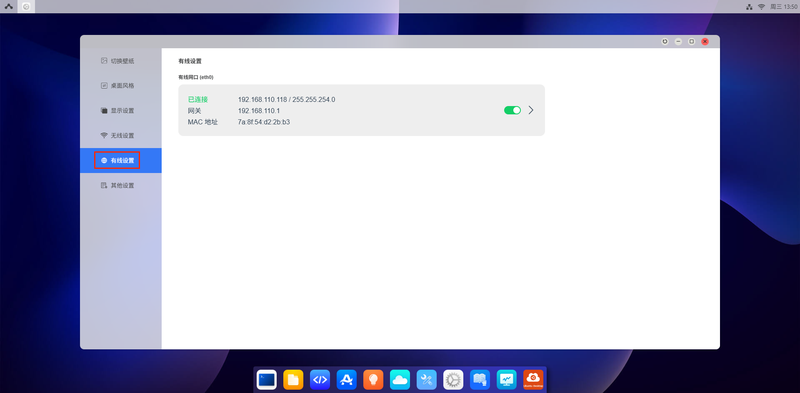
- Click Wired Settings to enter the wired network configuration page.
Configure Dynamic IP Address
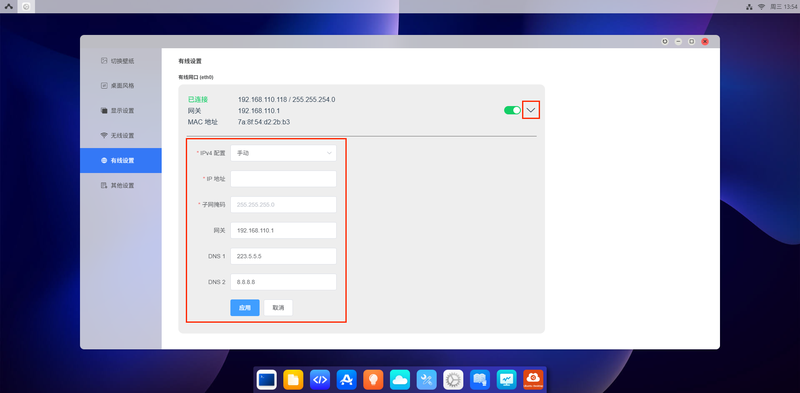
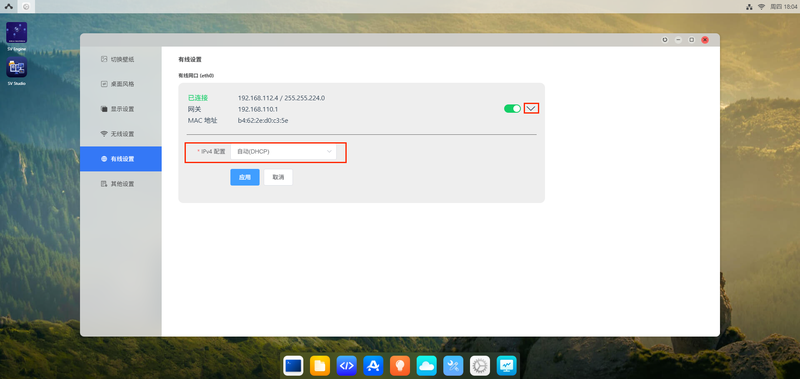
- The wired network is configured with a static IP address by default: 192.168.1.123/24. To switch to DHCP IP, connect the network cable, click the dropdown arrow on the right side of the wired interface, set IPv4 to "Automatic (DHCP)", and apply.
Configure Static IP Address
The 2nd Generation Smart Camera is factory-configured with a static IP address (192.168.1.123/24). To modify it, follow these steps:
- Click the dropdown arrow, fill in the IP address, subnet mask, gateway, and DNS as needed, then click Apply.