Getting Started
Unboxing
Hardware Preparation
- A computer running Windows 10 or later
- 2nd Generation Smart Camera
- USB Type-A to Type-C data cable
- HDMI cable, HDMI display, mouse, keyboard
- RJ45 to aviation plug adapter cable (included with device)
- 17 PIN aviation plug cable (included with device)
- Type-C hub (for Type-A port expansion)
- Power adapter (12V/24V 3A)
💡Tip
Some Type-C to Type-C cables (e.g., UGREEN dual Type-C 3.1 cables) may fail to recognize the camera device after connection. We recommend using Type-A to Type-C UGREEN cables.
Software Preparation
Please refer to Tool Download to install the following tools to assist with using Aplux hardware products:
- USB Driver
- ADB Tool
- Flashing Tool
- aid-deploy-tool
Assembly Instructions
⚠ Danger
Before powering on, ensure all cable connections are correct. Incorrect connections may result in camera damage.
Power Cable Connection
Connect the aviation plug end of the 17 PIN aviation cable to the camera's PWR interface. Connect the VCC+ and VCC- ends to the positive and negative terminals of the DC 12V/24V 3A power adapter respectively.
Network Cable Connection
Connect the aviation plug end of the RJ45 to aviation adapter cable to the camera's LNK interface, and the RJ45 end to a switch or router for network connectivity.
Sub-Camera Connection
Connect the aviation plug end of Sub-Camera 1 cable to the camera's C1 interface, and Sub-Camera 2 cable to the C2 interface.
Type-C Cable Connection
Connect the Type-A end of the cable to the USB 3.0 port on the Windows PC. Connect the Type-C end to the Type-C port on the 2nd Generation Smart Camera.
Press Win+R on the Windows PC, type cmd in the pop-up window, and enter the following command in the terminal:
adb devices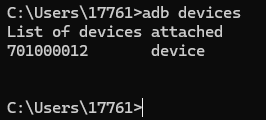
Basic ADB Usage
ADB (Android Debug Bridge) is a command-line tool used for communication between computers and devices. It supports app installation, debugging, file transfer, log viewing, and device control via USB or network.
Note
This device does not support remote adb connect. Please use ADB via a USB connection.
Install ADB
Visit the link ADB Download and select the corresponding platform to download the ADB software.
Verify the ADB Environment
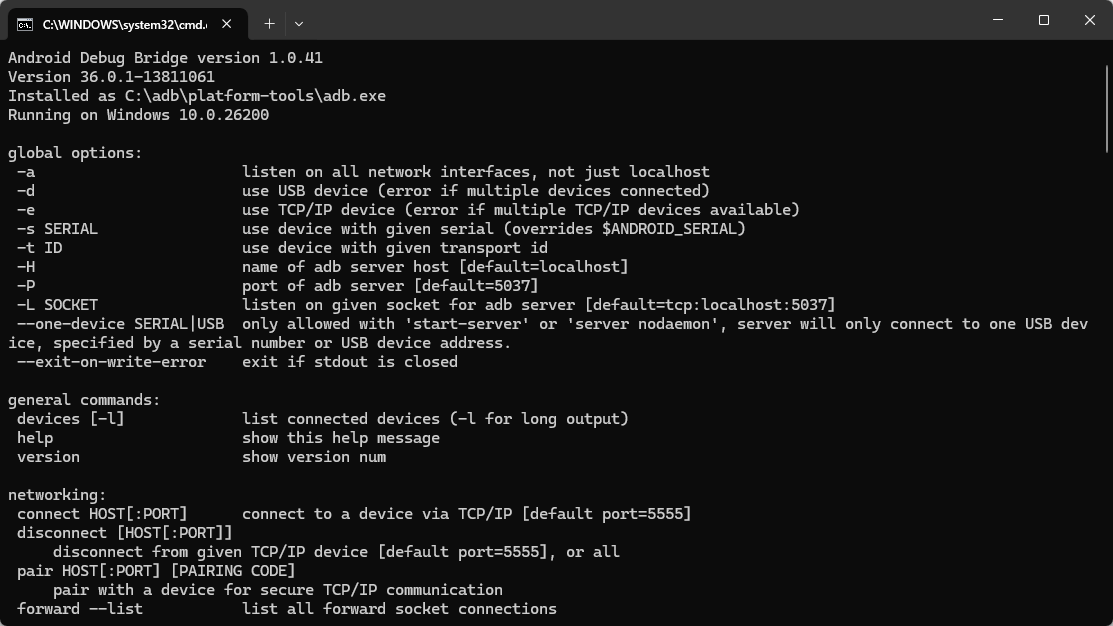
Open Terminal in the ADB folder directory and enter adb. If ADB-related command descriptions are output, the environment is functioning normally.
Basic ADB Commands
# View currently connected devices
adb devices

# If multiple devices are detected
adb -s <device_serial_number> <other_commands>

# Install an APK file
adb install xxx.apk

# Transfer files:
# Push files from PC to the device's SDCard
adb push <path_to_file_on_PC> /sdcard

# Pull files from the device to PC
adb pull <path_to_file_on_device> <path_to_save_on_PC>

# Enter the shell environment
adb shell

# Reboot the device
adb reboot
HDMI Display Connection
💡Tip
When accessing AidLux via a direct HDMI display connection, the default page language is English.
- Connect an HDMI display using an HDMI cable
- Connect a Type-C hub to the device's Type-C port and attach a mouse and keyboard to the hub
Power
The device starts automatically on power-up. After completing wiring, connect the power supply. Observe that the PWR LED blinks green during startup and stays solid green after startup is complete.
The system logs into the SVE (SmartVision Engine) interface by default. Enter the default username/password: sve/sve to log in.


