IQ8275 Introduction
The Qualcomm Dragonwing™ IQ8 series delivers exceptional AI performance and design flexibility for demanding industrial applications. It offers high compute capability and power efficiency, enabling it to handle heavy workloads in extreme environments. By adding support for junction temperature operation across a wide range from -40℃ to +115℃, the Qualcomm IQ8 series perfectly satisfies the most demanding, compute-intensive industrial application needs in extreme environments. In addition, the IQ8275 features a developer-friendly design that supports multiple operating systems such as the Qualcomm Linux® software stack and Ubuntu, and provides a long life cycle of more than 10 years. Developers can easily build, test, and deploy solutions on this platform with confidence that their designs will remain supported for years to come.
Product Appearance
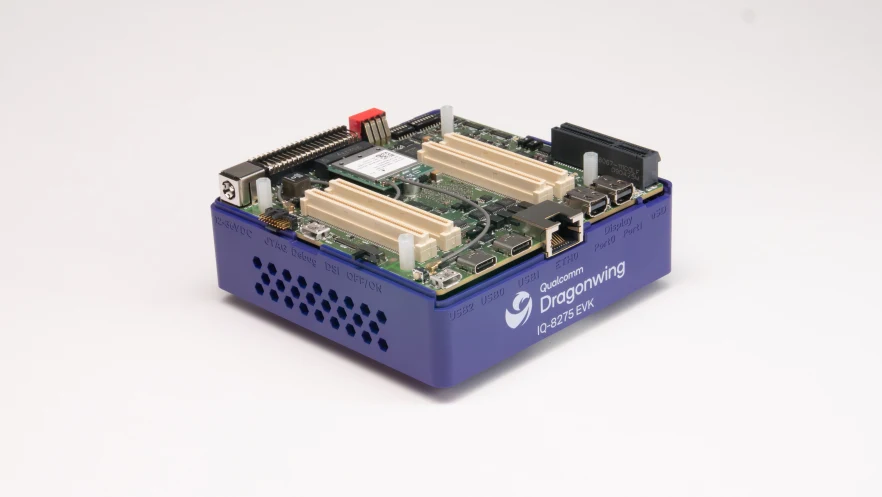
Environment Preparation
- A computer running Windows 10 or later
- An IQ8275 chip device
- USB Type-A to mini USB cable [for serial debugging]
- Power adapter (12V 3A)
- DP cable
- Type-C to USB hub [to connect a mouse and keyboard]
- HDMI type D & DP cable [connect the HDMI type D port to the board and the DP port to the monitor]
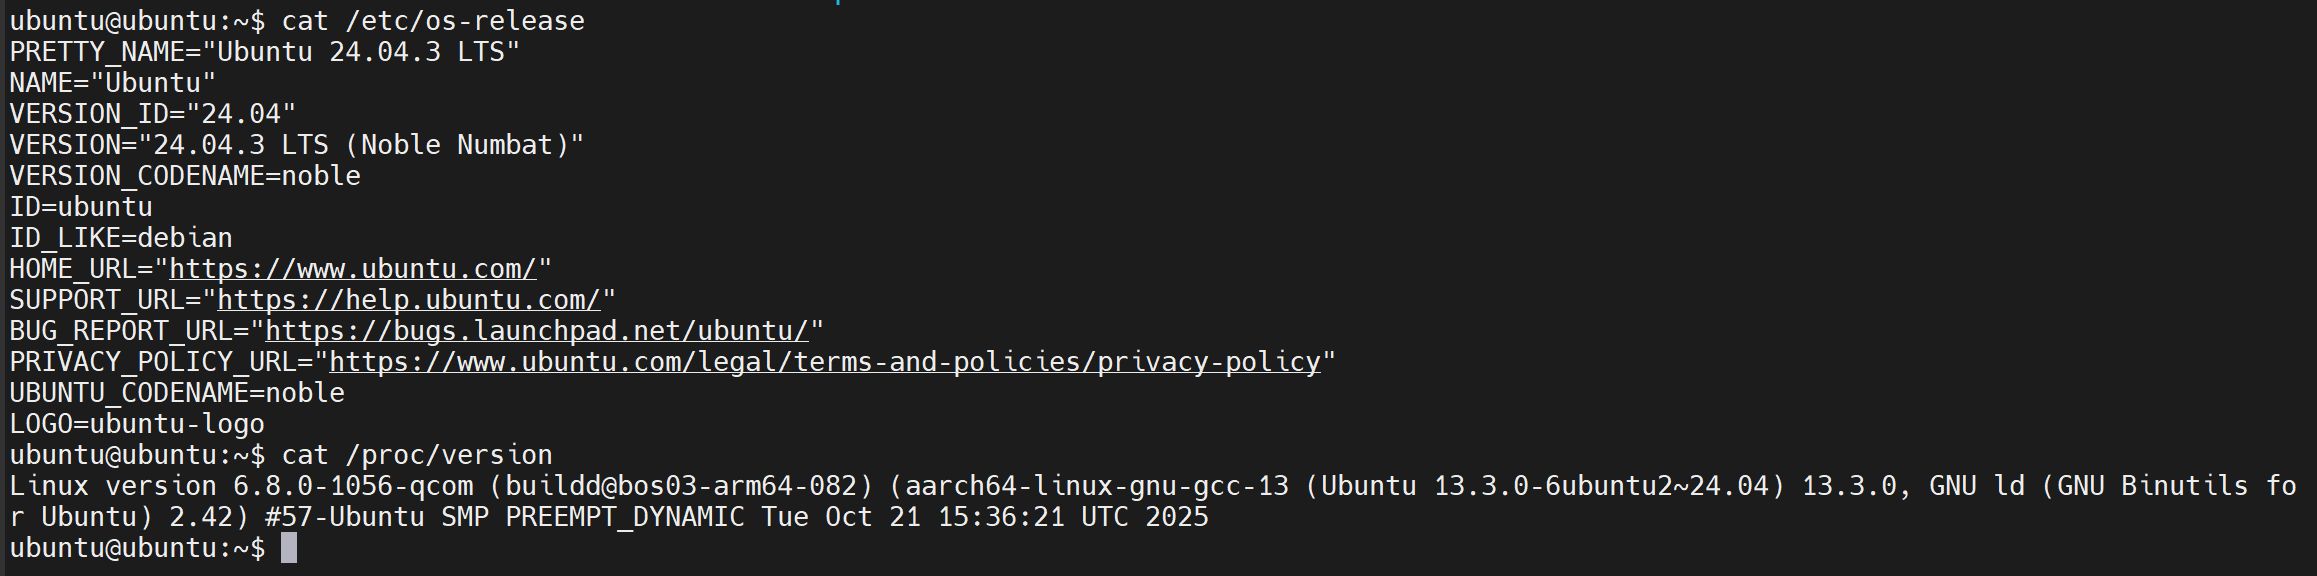
The IQ8275 device requires the official Qualcomm Ubuntu 24.04 system to be deployed and installed. For the specific flashing and deployment steps, refer to the Qualcomm official website.
Device Power-On & Configuration
Power Cable Connection
Connect the DC12V3A power adapter to the DC port of the board. The board powers on automatically by default. After power-on, verify that the power indicator stays green and the fan starts spinning (indicating the boot is complete).
Peripheral Connection
Option 1: Peripherals such as a monitor, hub, USB mouse, and keyboard are available.
- HDMI type D & DP cable [connect the HDMI type D port to the board and the DP port to the monitor]
- Type-C to USB hub, with the USB mouse and keyboard connected to the hub
After the board is powered on, once the system login screen appears on the monitor, enter the username/password (ubuntu/ubuntu). Developers can then access the board's system through their specific development environment.
Option 2: A laptop and a USB Type-A to mini USB cable (included with the board) are available.
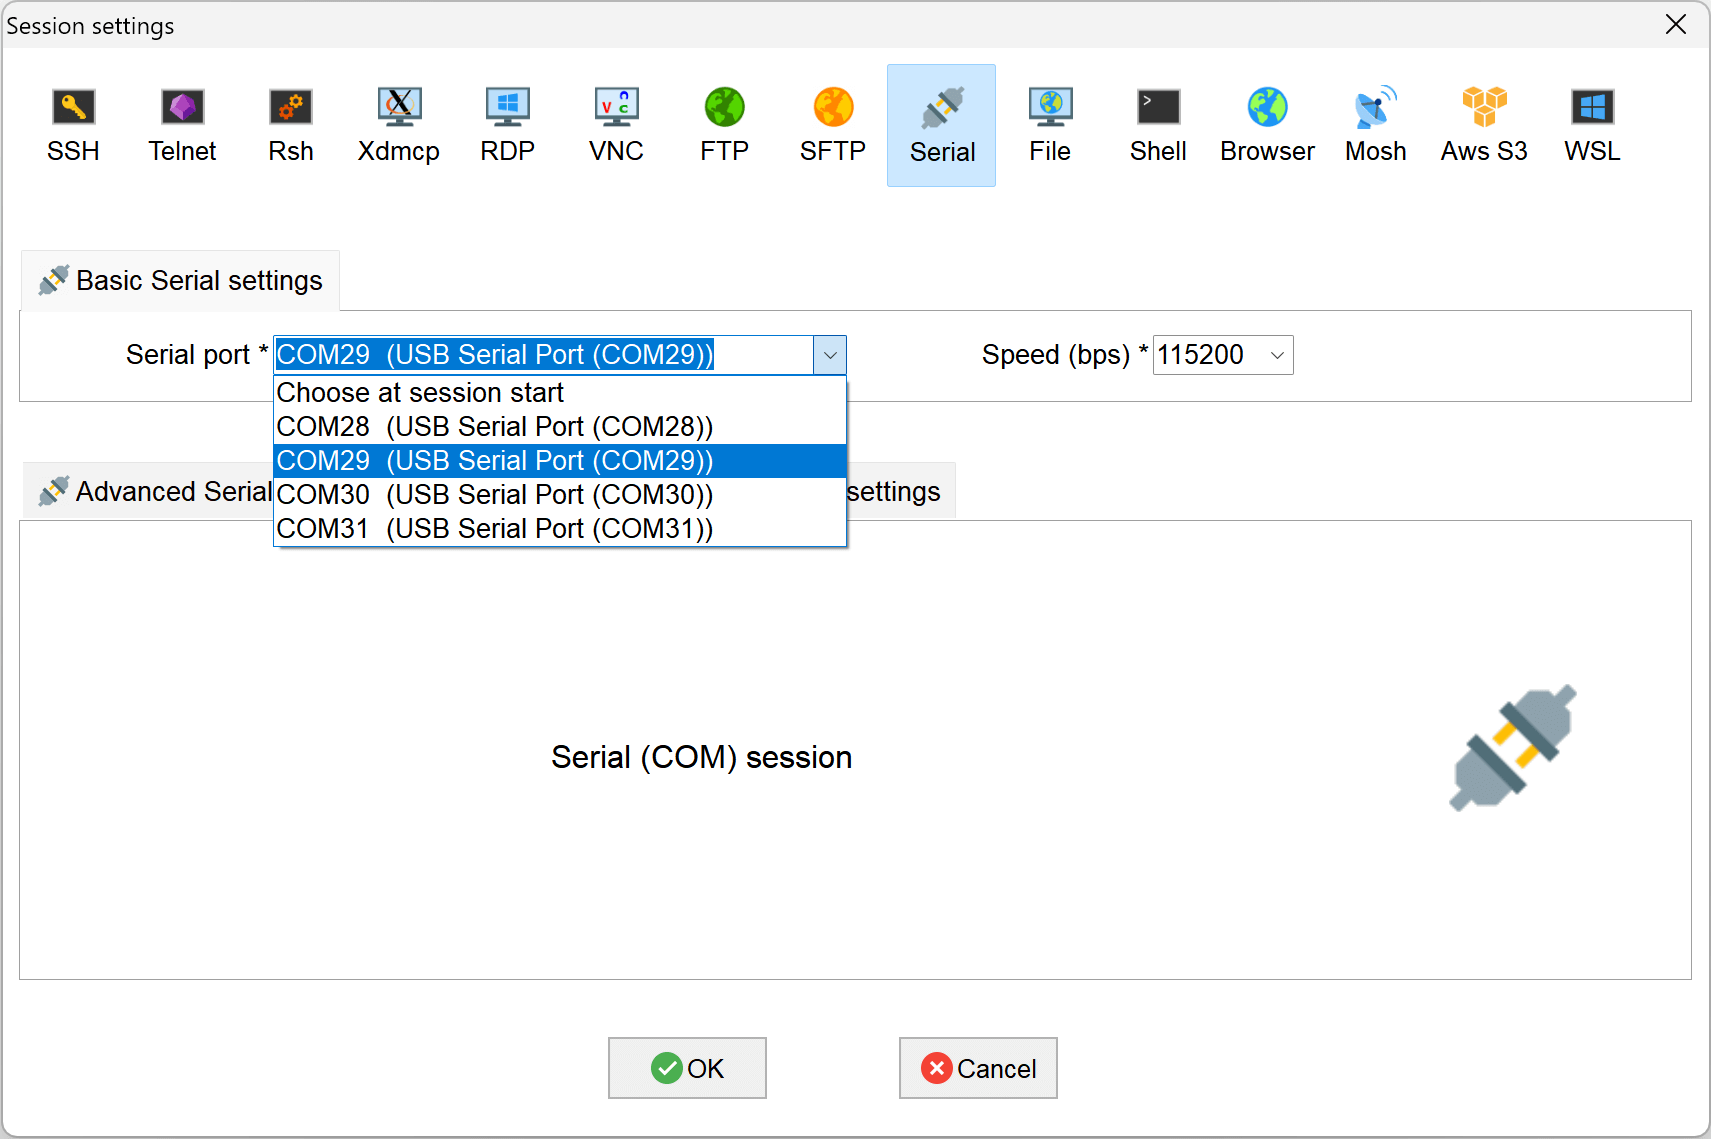
- Connect the USB Type-A to mini USB cable to the board and the personal computer, then use MobaXterm on the computer to open the serial connection tool and connect to the serial port (the second one by default) as shown below:
Board Wi-Fi Configuration
sudo nmcli dev wifi connect <Wi-Fi name> password <Wi-Fi password>